Account & Tax Mappings
The Account & Tax Mappings section lets you map account codes and tax types for Xero bill line items. Accurate mappings ensure purchase order bills sync to the correct chart of accounts codes and tax classifications in Xero.
Site Settings > Integrations > Xero > Account & Tax Mappings 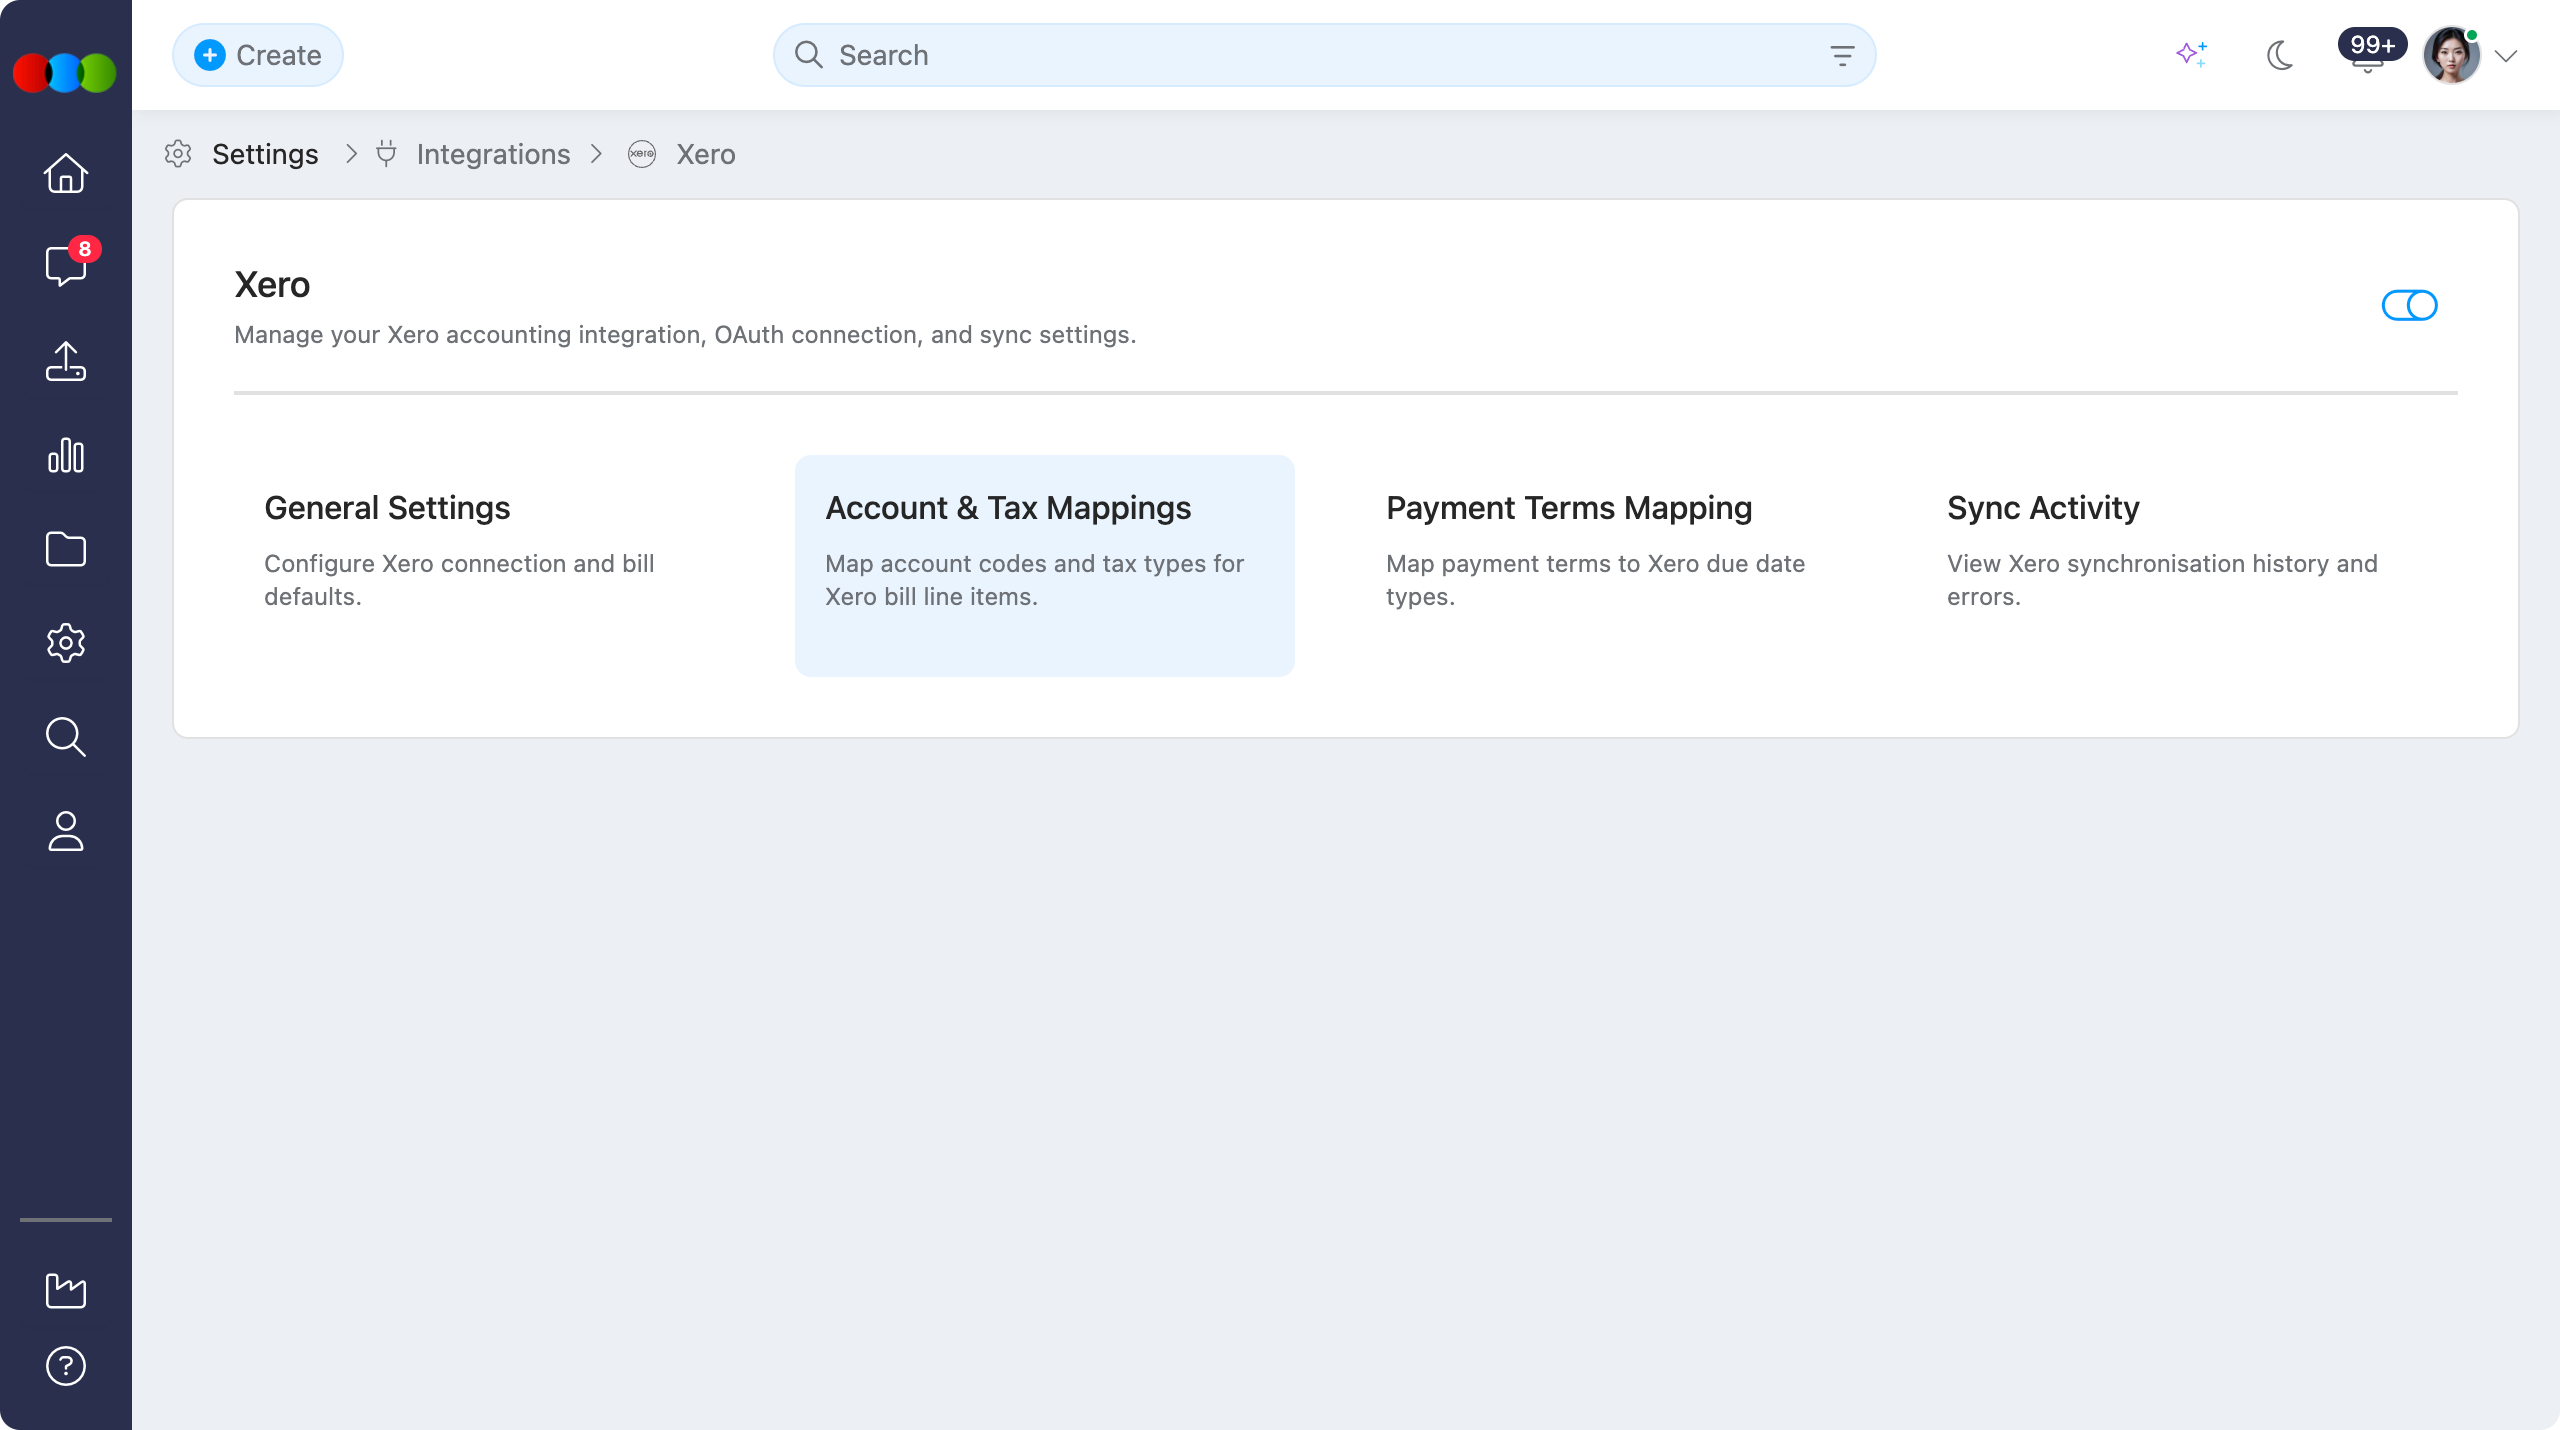
Each mapping links a Mapping Key to a Xero Account Code and Tax Type, with an optional description. Use these records to set a default for all purchase order bills and to override account and tax behaviour for specific line types. Configure mappings before production sync so finance teams review consistent coding from the first bill push.
Account & Tax Mappings Overview 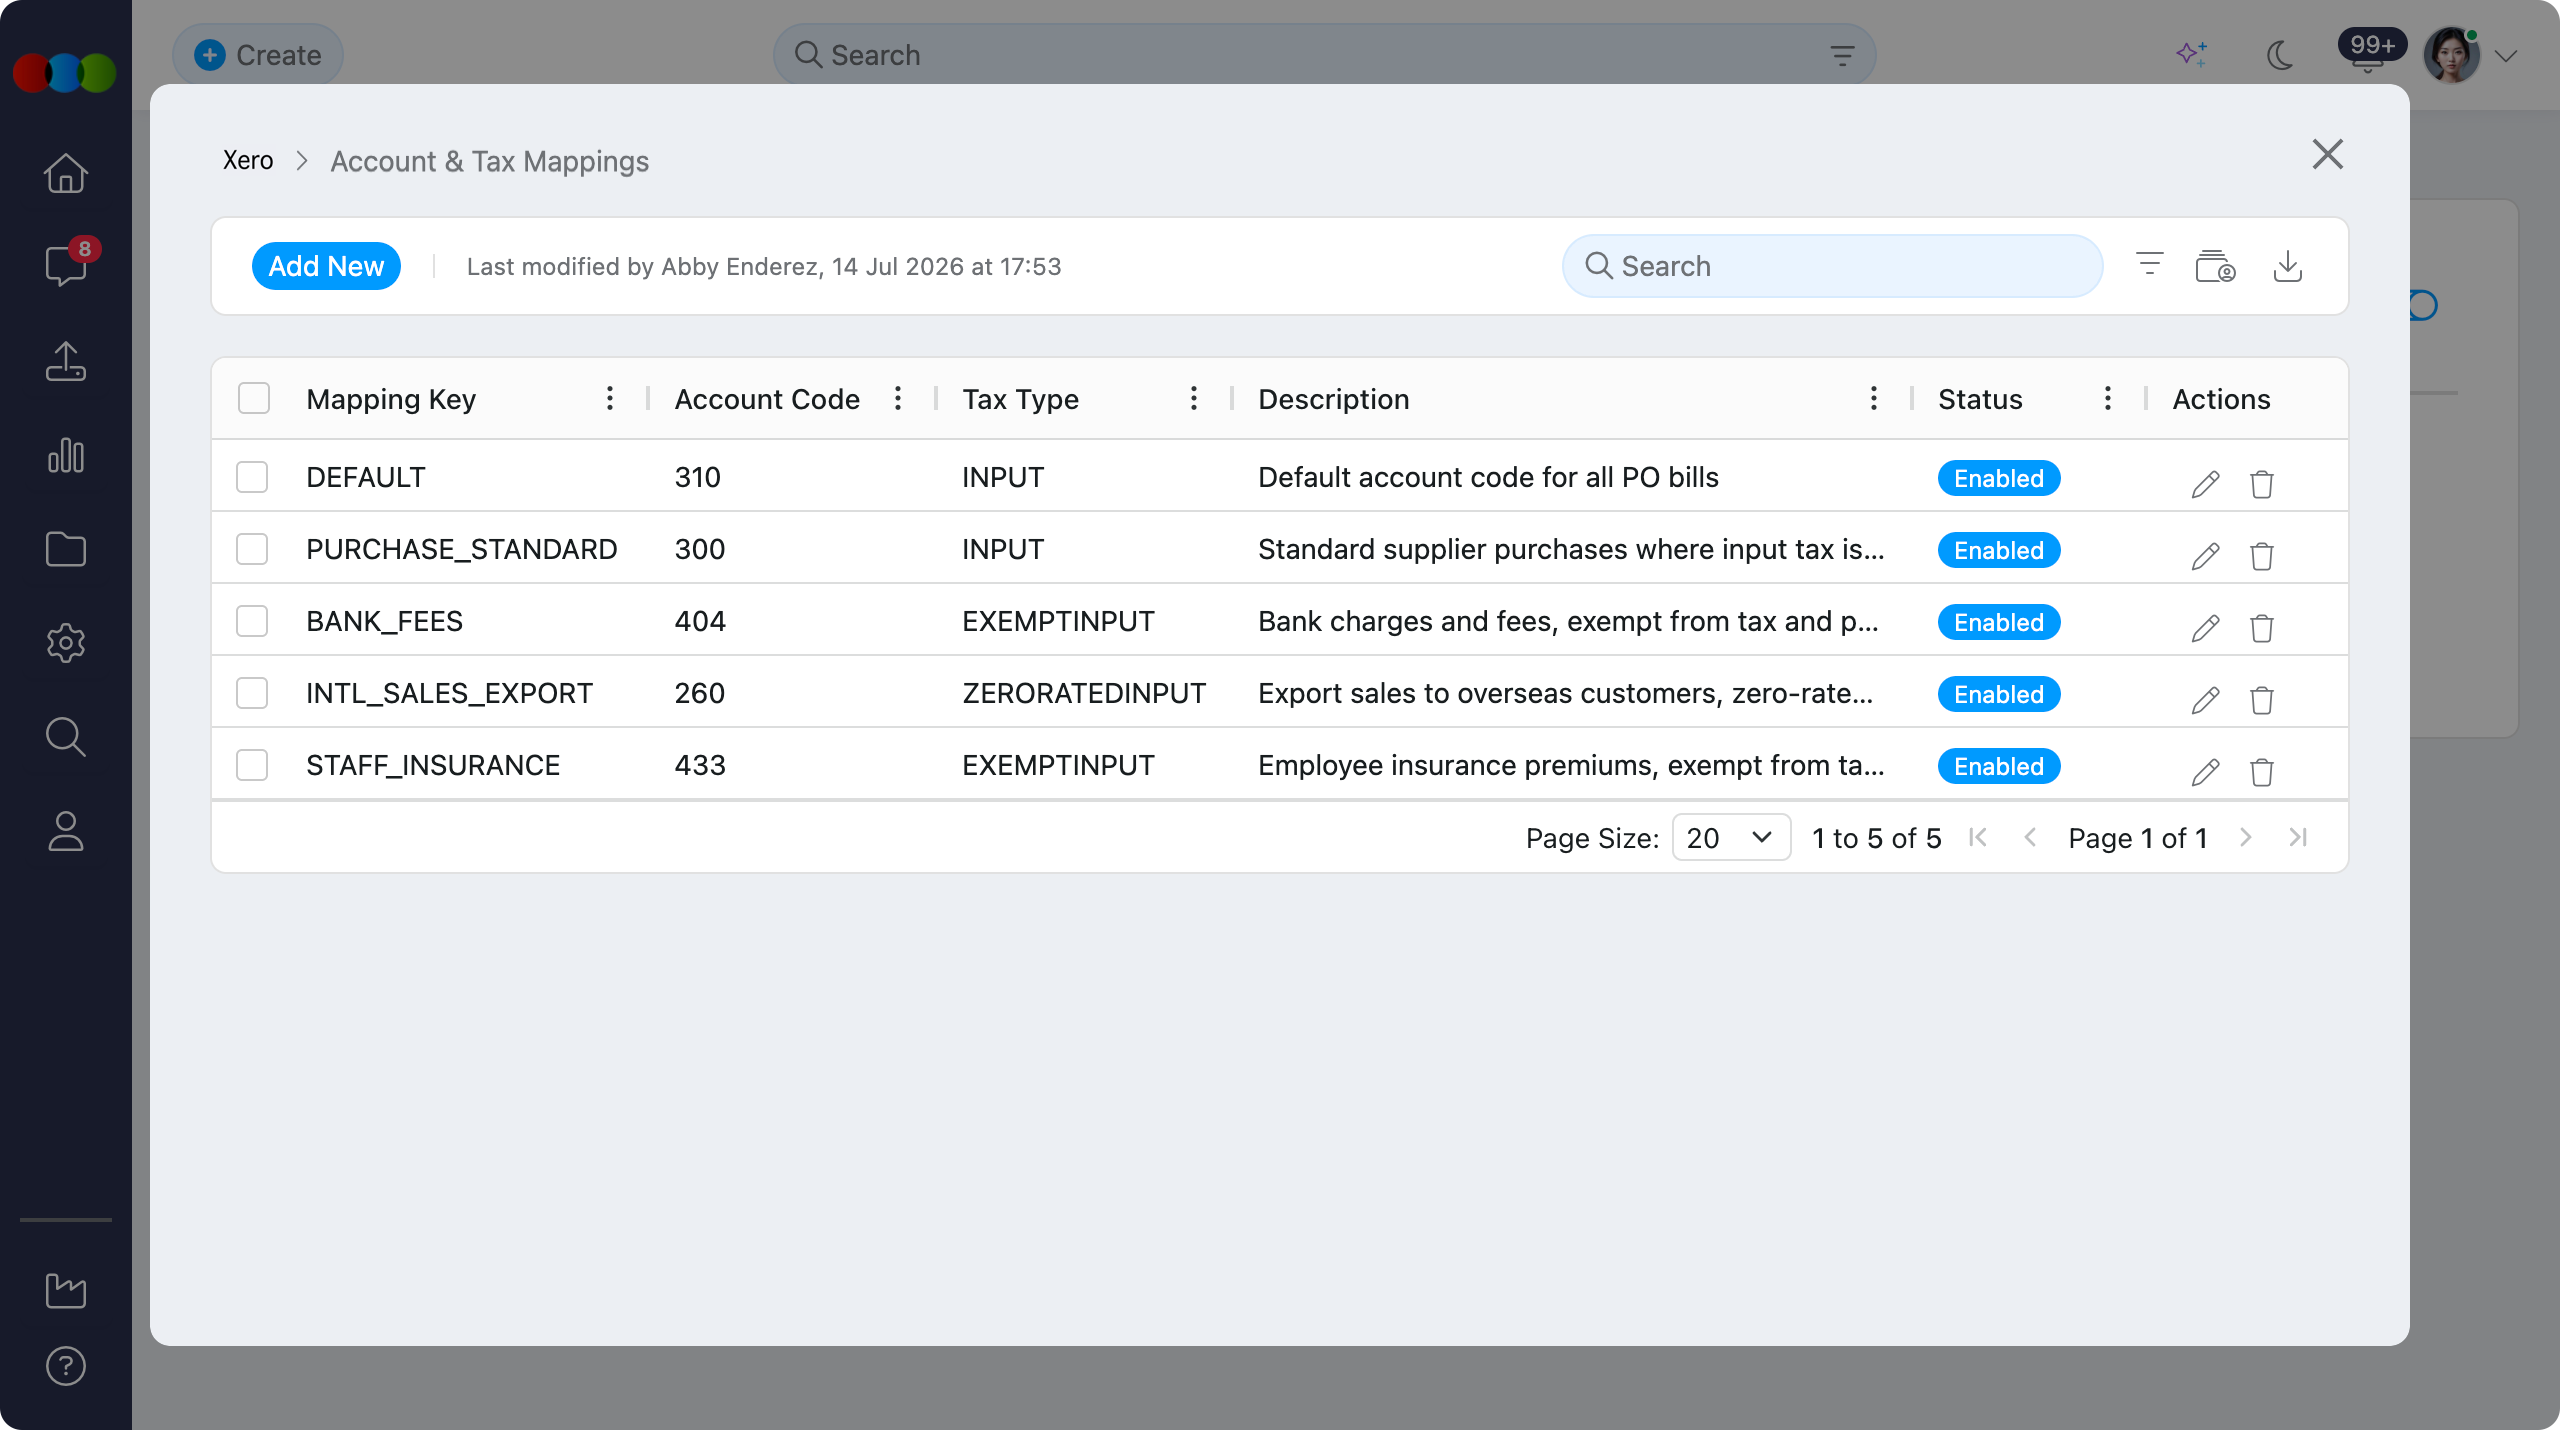
Quick Check - Before You Start
- Confirm Site Settings > Integration > Xero is enabled and connected in General Settings
- Align mapping keys and account codes with your Xero chart of accounts before adding rows
- Note the Default Account Code for PO Bills in General Settings — mappings override it when a specific key applies
- Prefer Disable for retired mappings so historical bills and sync history stay consistent
Managing Account & Tax Mappings
Add Mapping
- Click the Add New button at the top left.
- Enter the mapping details in the Account & Tax Mappings pop-up.
- Click Save to create the mapping, or Save and Add to save and open a blank form for another mapping.
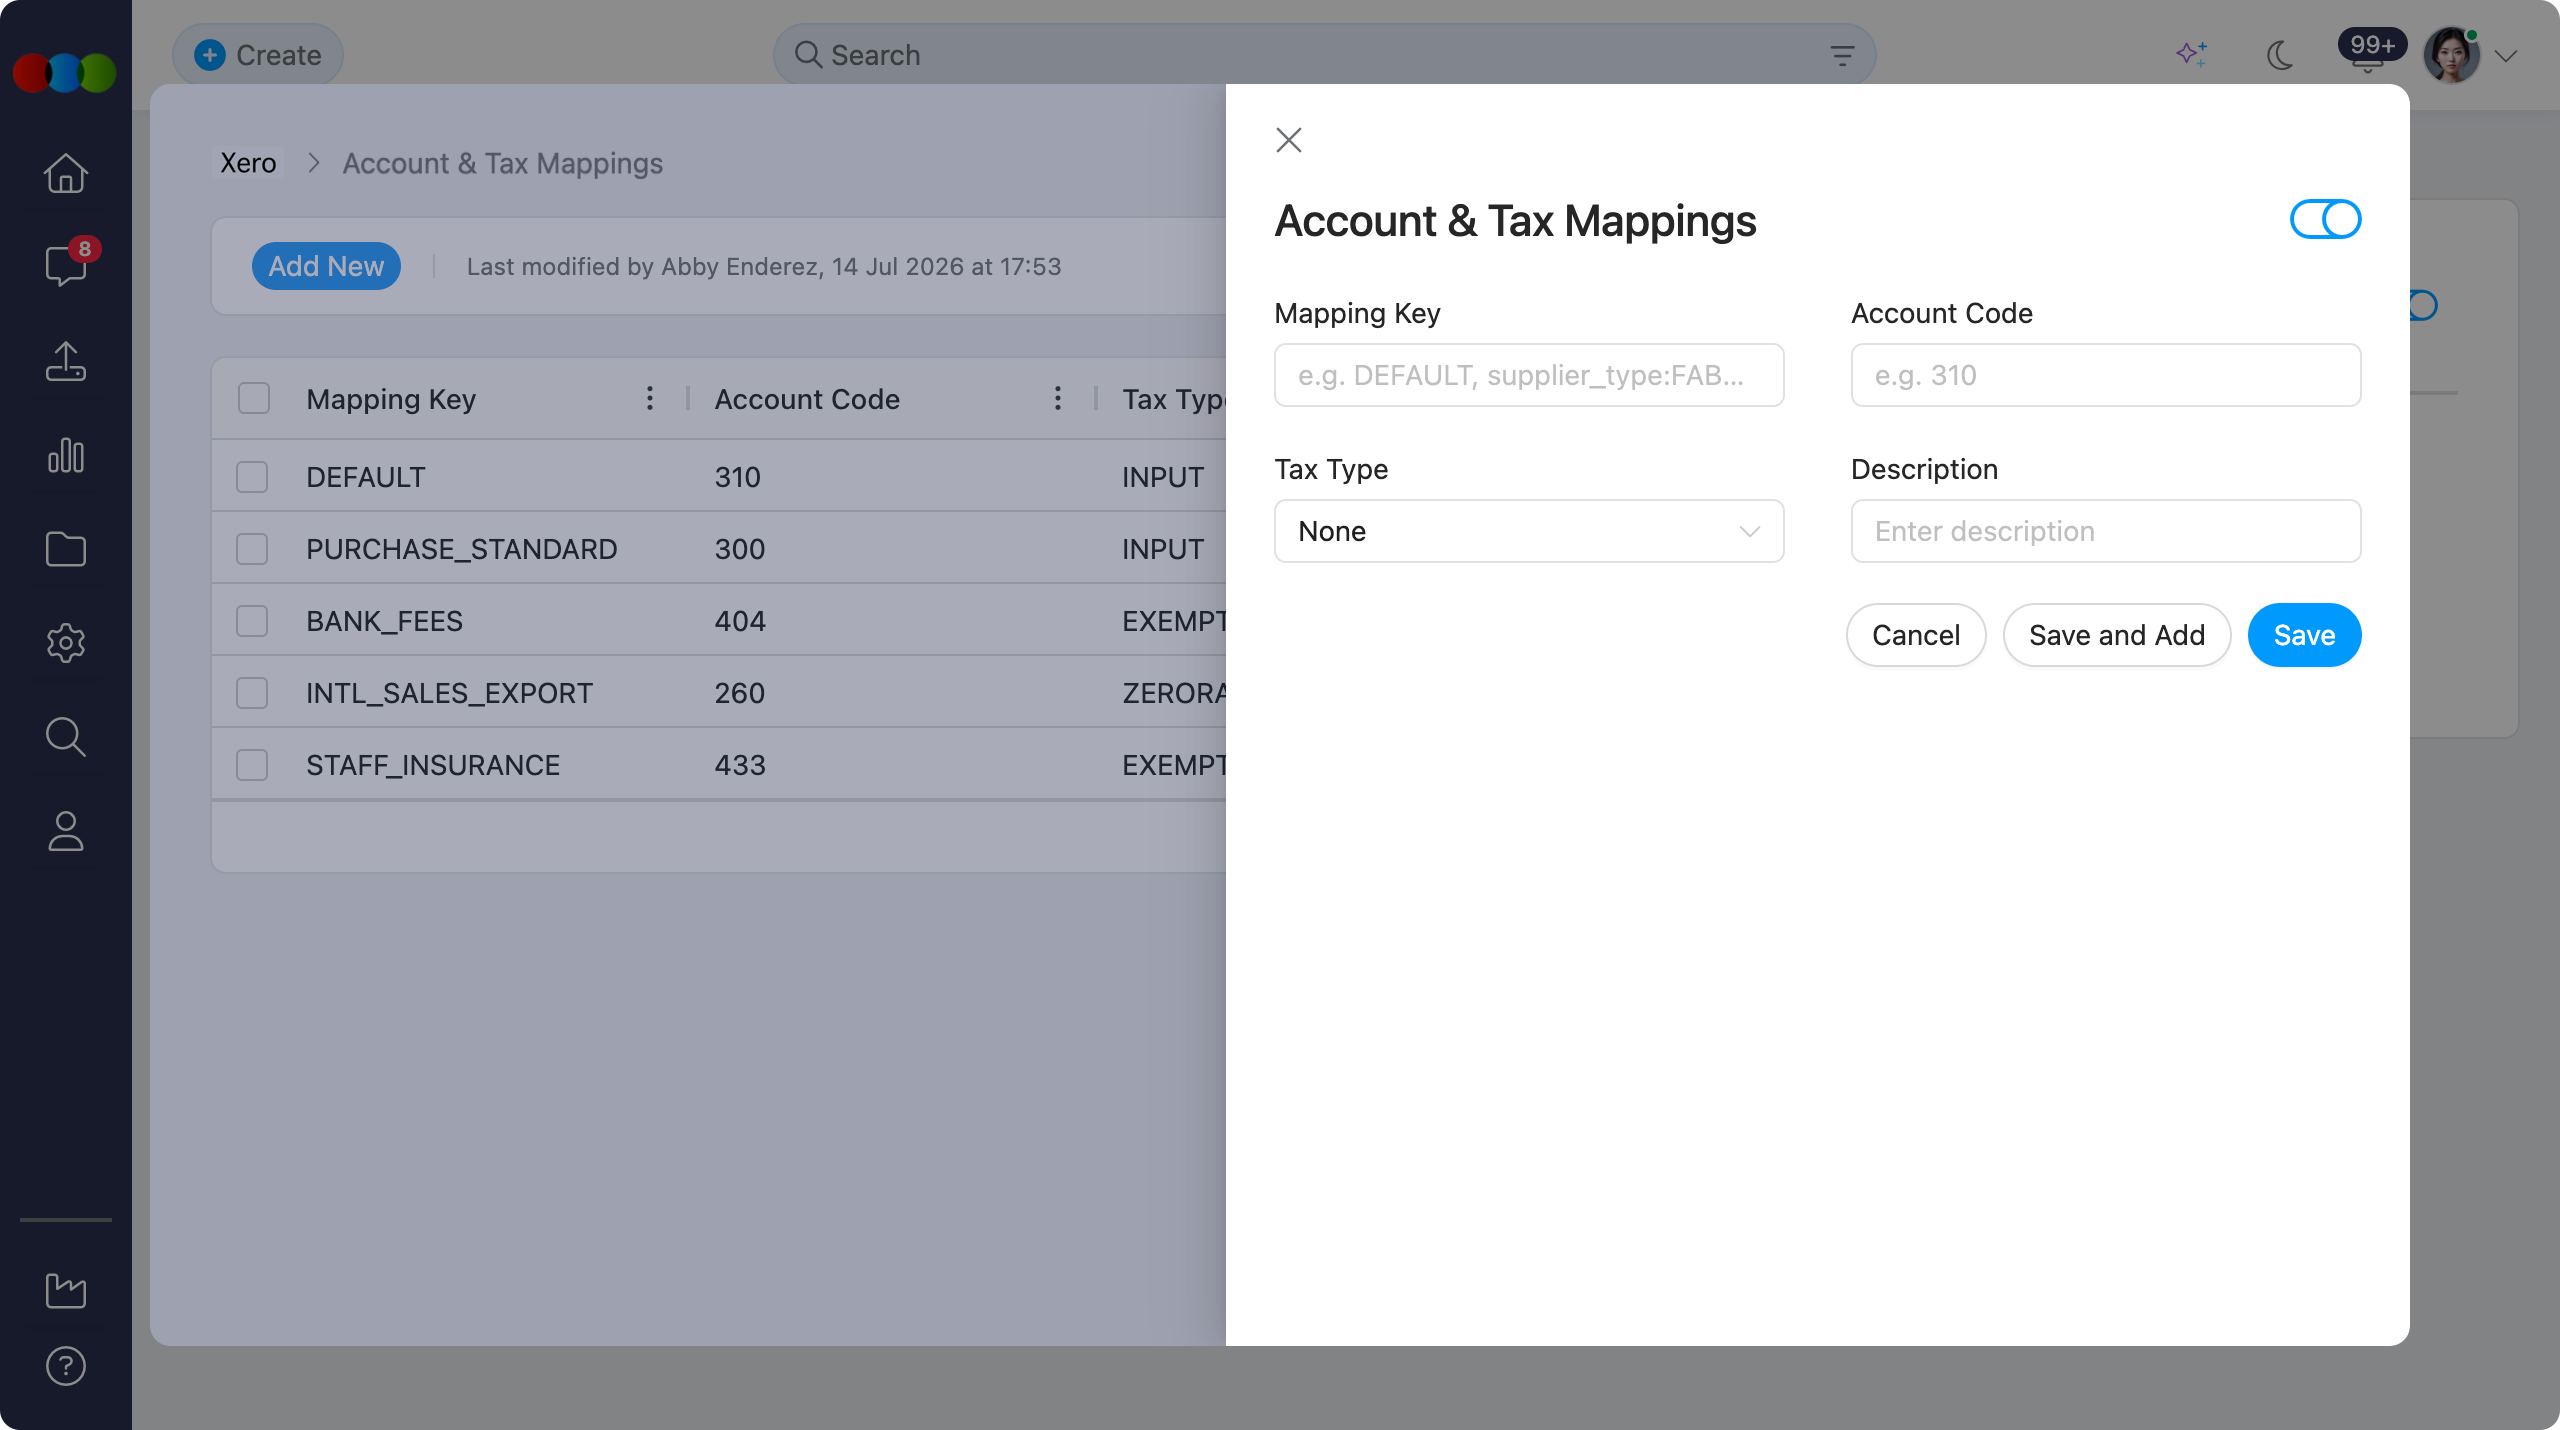
| Field | Description |
|---|---|
| Mapping Key | Unique key used to apply the mapping (for example, DEFAULT, PURCHASE_STANDARD, or supplier_type:FAB...). |
| Account Code | Xero chart of accounts code used on the bill line item (for example, 310). |
| Tax Type | Tax classification for the line item. Options: Input Tax, Exempt Input, and Zero Rated Input. |
| Description | Optional note explaining when the mapping should be used. |
| Status | Use the On / Off toggle to enable or disable the mapping without deleting it. |
After entering the fields, use Cancel to discard, Save and Add to save and create another, or Save to save and close the pop-up.
Edit Mapping
- Click the pen icon next to the mapping you wish to modify.
- Update the necessary details in the form.
- Click Save to confirm the changes.
Delete Mapping
Common Pitfall
Deleting a mapping can cause bill sync to fall back to Default Account Code for PO Bills in General Settings, or to fail if no default is set. Disable the mapping when you need to retire it but keep history intact.
- Single delete: Click the trashcan icon next to a mapping and confirm the deletion.
- Bulk delete: Use checkboxes to select multiple mappings, then click the delete button that appears at the top of the table to remove them all at once.
Other Actions
- Filter – View mappings by Status (Enabled or Disabled).
- History – Download a detailed log of mapping changes and version history in Excel for auditing purposes.
- Export – Download the complete list of account and tax mappings in
.xlsxformat.
Table Flexibility
Users can tailor the table layout using the following controls:
| Feature | Description |
|---|---|
| Sort by Ascending or Descending | Reorder mappings alphabetically or by date added. |
| Pin Column | Lock important columns in place while scrolling. |
| Autosize This Column | Automatically resize the specific column to fit its content. |
| Autosize All Columns | Applies autosizing on all columns. |
| Choose Columns | Show or hide individual table columns. |
| Reset Columns | Return the table to the default configuration. |
Where Account & Tax Mappings Are Used
Mappings defined in this section apply when 3 Clicks creates or updates Xero purchase order bills. The following areas consume account and tax mappings configured here:
| Area | Description | Documentation |
|---|---|---|
| Site Settings > Integration > Xero > General Settings | Default Account Code for PO Bills fills gaps when no specific mapping applies. Mappings here override that default for matching line types. | Xero › General Settings |
| Site Settings > Integration > Xero | Account and tax setup is part of the recommended go-live checklist before the first production sync. | Xero › Overview |
| Order Search / Order Documents | Mapped account codes and tax types are applied when you push purchase orders as Xero bills. | How Push to Xero Works |
| Site Settings > Integration > Xero > Sync Activity | Failed bill syncs often relate to missing or invalid account codes and tax types. Review sync history after changing mappings. | Xero › Sync Activity |
| Site Settings > Company > Tax | Platform tax records should align with the Xero tax types you select in these mappings. | Site Settings › Company › Tax |
Configure Before Use
Define account and tax mappings before enabling bill sync or auto-submit. A DEFAULT mapping (or a valid Default Account Code for PO Bills in General Settings) should be in place so every bill line can resolve an account code.
Tips
- Keep a
DEFAULTmapping for all purchase order bills, then add specific keys for exceptions. - Use account codes that already exist in your Xero chart of accounts to avoid repeated bill creation failures.
- Disable legacy or inactive mappings instead of deleting them to preserve sync history and audit trails.
- Export mappings and history periodically to align with your finance team and support audits.
- Regularly review mappings after chart of accounts or tax changes in Xero.