Images
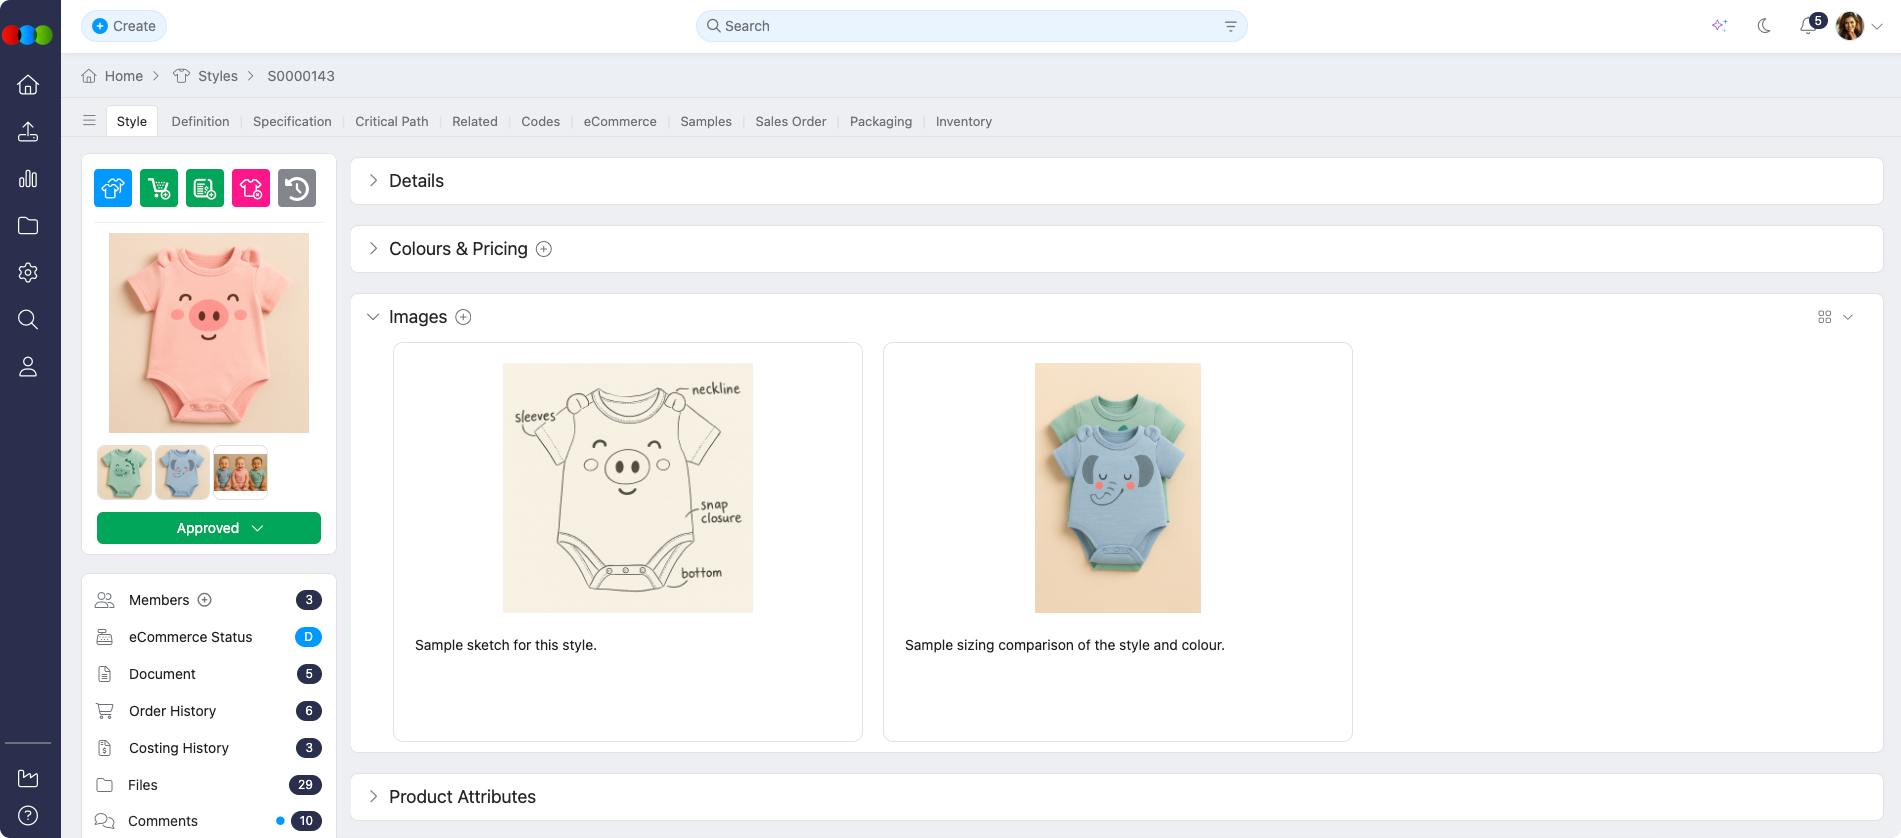
The Images tab is where you upload, order, and maintain the main product image gallery for a style. This gallery supports merchandising reviews, the B2B Store when a style is published, AI-assisted content that references product imagery, and document outputs.
This tab is not the same as a Preview Image on the style card or the per-colour images in Style > Colours and Pricing, those are managed separately. See Related actions below for links.
Quick Check - Before You Start
- If you use the B2B Store, confirm eCommerce content is complete: see Style > eCommerce.
- To change which photos appear on License Approval documents, the order in this tab matters—the first 10 images in gallery order are used. See Style > Side Widgets > Documents.
- Deleting images in this gallery requires Style > Edit (or Delete) permission on your Production Portal role in Site Settings > Company > Roles & Permissions. If the delete action is missing, ask an administrator to review your role.
Features
Use these features to build and maintain the style’s image set.
| Feature | Description |
|---|---|
| Upload images | Add one or many product images. New uploads appear in the gallery. |
| View options | Switch between small and large icon views. |
| Image description | Add or edit a description on each image for clarity, search, and internal reference. |
| Image editor | Open the built-in editor to annotate or make simple mark-ups before saving. |
| Delete | Remove an image from the gallery. Requires appropriate Style permissions. |
| Drag and drop reordering | Drag thumbnails to set the display order. This order applies to B2B galleries where applicable, exports, and the first ten images used on License Approval outputs. |
How to upload and organise images
- Open the style, then go to the Images tab.
- Use upload to add image files, or drag files into the upload area.
- Drag thumbnails to put the most important or representative shots first, especially if you rely on License Approval or B2B listing order.
- Click an image to add a description or open the image editor if you need to highlight construction details, embroidery placement, or other call-outs.
- Save any changes in the image editor or description fields before leaving the page.
How to delete an image
- Locate the image in the gallery.
- Use the delete (trash) action on that image and confirm the prompt.
- If you cannot see delete, or the action is blocked, your Production Portal role may not include Style > Edit permission. Ask an administrator to update your role in Site Settings > Company > Roles & Permissions or remove the file on your behalf.
Related actions
- Style > eCommerce - B2B-facing descriptions, markets, and publishing; ensure images, Available Until, Sell Prices, and required fields are complete for the store
- Style > Side Widgets > Preview Image - the single Preview Image used in cards and dashboards
- Style > Colours and Pricing - colourway-specific Images column (separate from this gallery, but may feed planning views)
- Style > Side Widgets > Documents - License Approval PDF and JPG, which use the first 10 images from this tab in their arrangement order
- Style > eCommerce > Update eCommerce Status - set Published so B2B shoppers can see a style; incomplete eCommerce data, including missing Available Until or Sell Prices, can still hide a style
Troubleshooting
Why can I not delete an image in the gallery?
Deleting Style gallery images requires Style permissions on your Production Portal role in Site Settings > Company > Roles & Permissions. If the delete action is missing or not allowed, your role may not include Edit (or Delete) for Style.
Steps to resolve:
- Open Site Settings > Company > Roles & Permissions and edit your Production Portal role.
- Confirm Style > Edit (or Delete) is enabled.
- Ask an administrator to update the role, or have someone with the correct permissions remove the file.
Why is an image from the gallery not shown in the B2B store?
The B2B Store has its own eCommerce and publishing requirements. A missing image in the store can mean the style is still Draft, required eCommerce fields are incomplete, or image requirements for your integration were not met.
Steps to resolve:
- Check Style > eCommerce for the Images area and other required sections such as Colours & Pricing, Available Until, and Sell Prices.
- Set the eCommerce Status in the side widget to Published when all required data is available.
- Revisit Style > eCommerce troubleshooting if the store still does not list the product.
Will changing the order of images affect licence approval or marketing documents?
Yes. License Approval documents take the first 10 images from this gallery, in the current order. Marketing or export workflows that rely on the same list will follow that order as well.
Steps to resolve:
- Arrange images in the Images tab so the intended shots are in the first 10 positions.
- Re-generate License Approval (or any dependent export) from Style > Side Widgets > Documents if you need a document that matches the new order.
- If several teams use the same style, let them know when the gallery order has changed for approval or launch purposes.